使用 OpenCL 实现图片高斯模糊
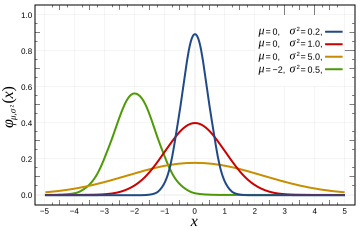
高斯模糊( https://zh.wikipedia.org/wiki/%E9%AB%98%E6%96%AF%E6%A8%A1%E7%B3%8A )是一种常见的图像处理算法,使用高斯分布与图像做卷积,得到模糊的效果。其二维定义:
σ是正态分布的标准偏差。在应用的时候,假设σ为2.5。对于模糊半径为1,则高斯矩阵为3*3的一个矩阵,以[1,1]为中心,带入公式计算高斯矩阵的值,得到:
||||
————|————–|———–
0.0216996633|0.0235069655|0.0216996633
0.0235069655|0.0254647918|0.0235069655
0.0216996633|0.0235069655|0.0216996633
他们的和为 0.206291318,我们需要他们的和为1,因此与总和相除得到:
| 0.105189413 | 0.113950342 | 0.105189413 | |
| 0.113950342 | 0.123440929 | 0.113950342 | |
| 0.105189413 | 0.113950342 | 0.105189413 |
根据这个矩阵,对图像的每个像素点进行计算,计算的九个点的各rgb分量之和就是最终像素的rgb分量。
1 | //计算高斯矩阵 |
当然,这样能完成工作,但是耗时太长,对于3000*1920尺寸的图片处理需要2分51秒(Intel Core i7-4770),这显然是不可接受的。
对于这种分别计算每个像素,且各像素间互不干扰的问题,使用OpenCL可以大幅降低时间消耗。
1 | /* |
Host代码:
1 | public void Compute_cl(string imageFile) |
相同尺寸的图片处理,使用 Intel Core i7-4770 自带的核显 HD4600 处理,耗时只需要164毫秒。
以下是相关测试结果:
1 | 运行平台: Intel(R) OpenCL |
当然,常规方法都只使用了单线程,还未发挥多核CPU的威力,然而,可以预见的是,即使是使用多线程,提升也是有限的。
原图: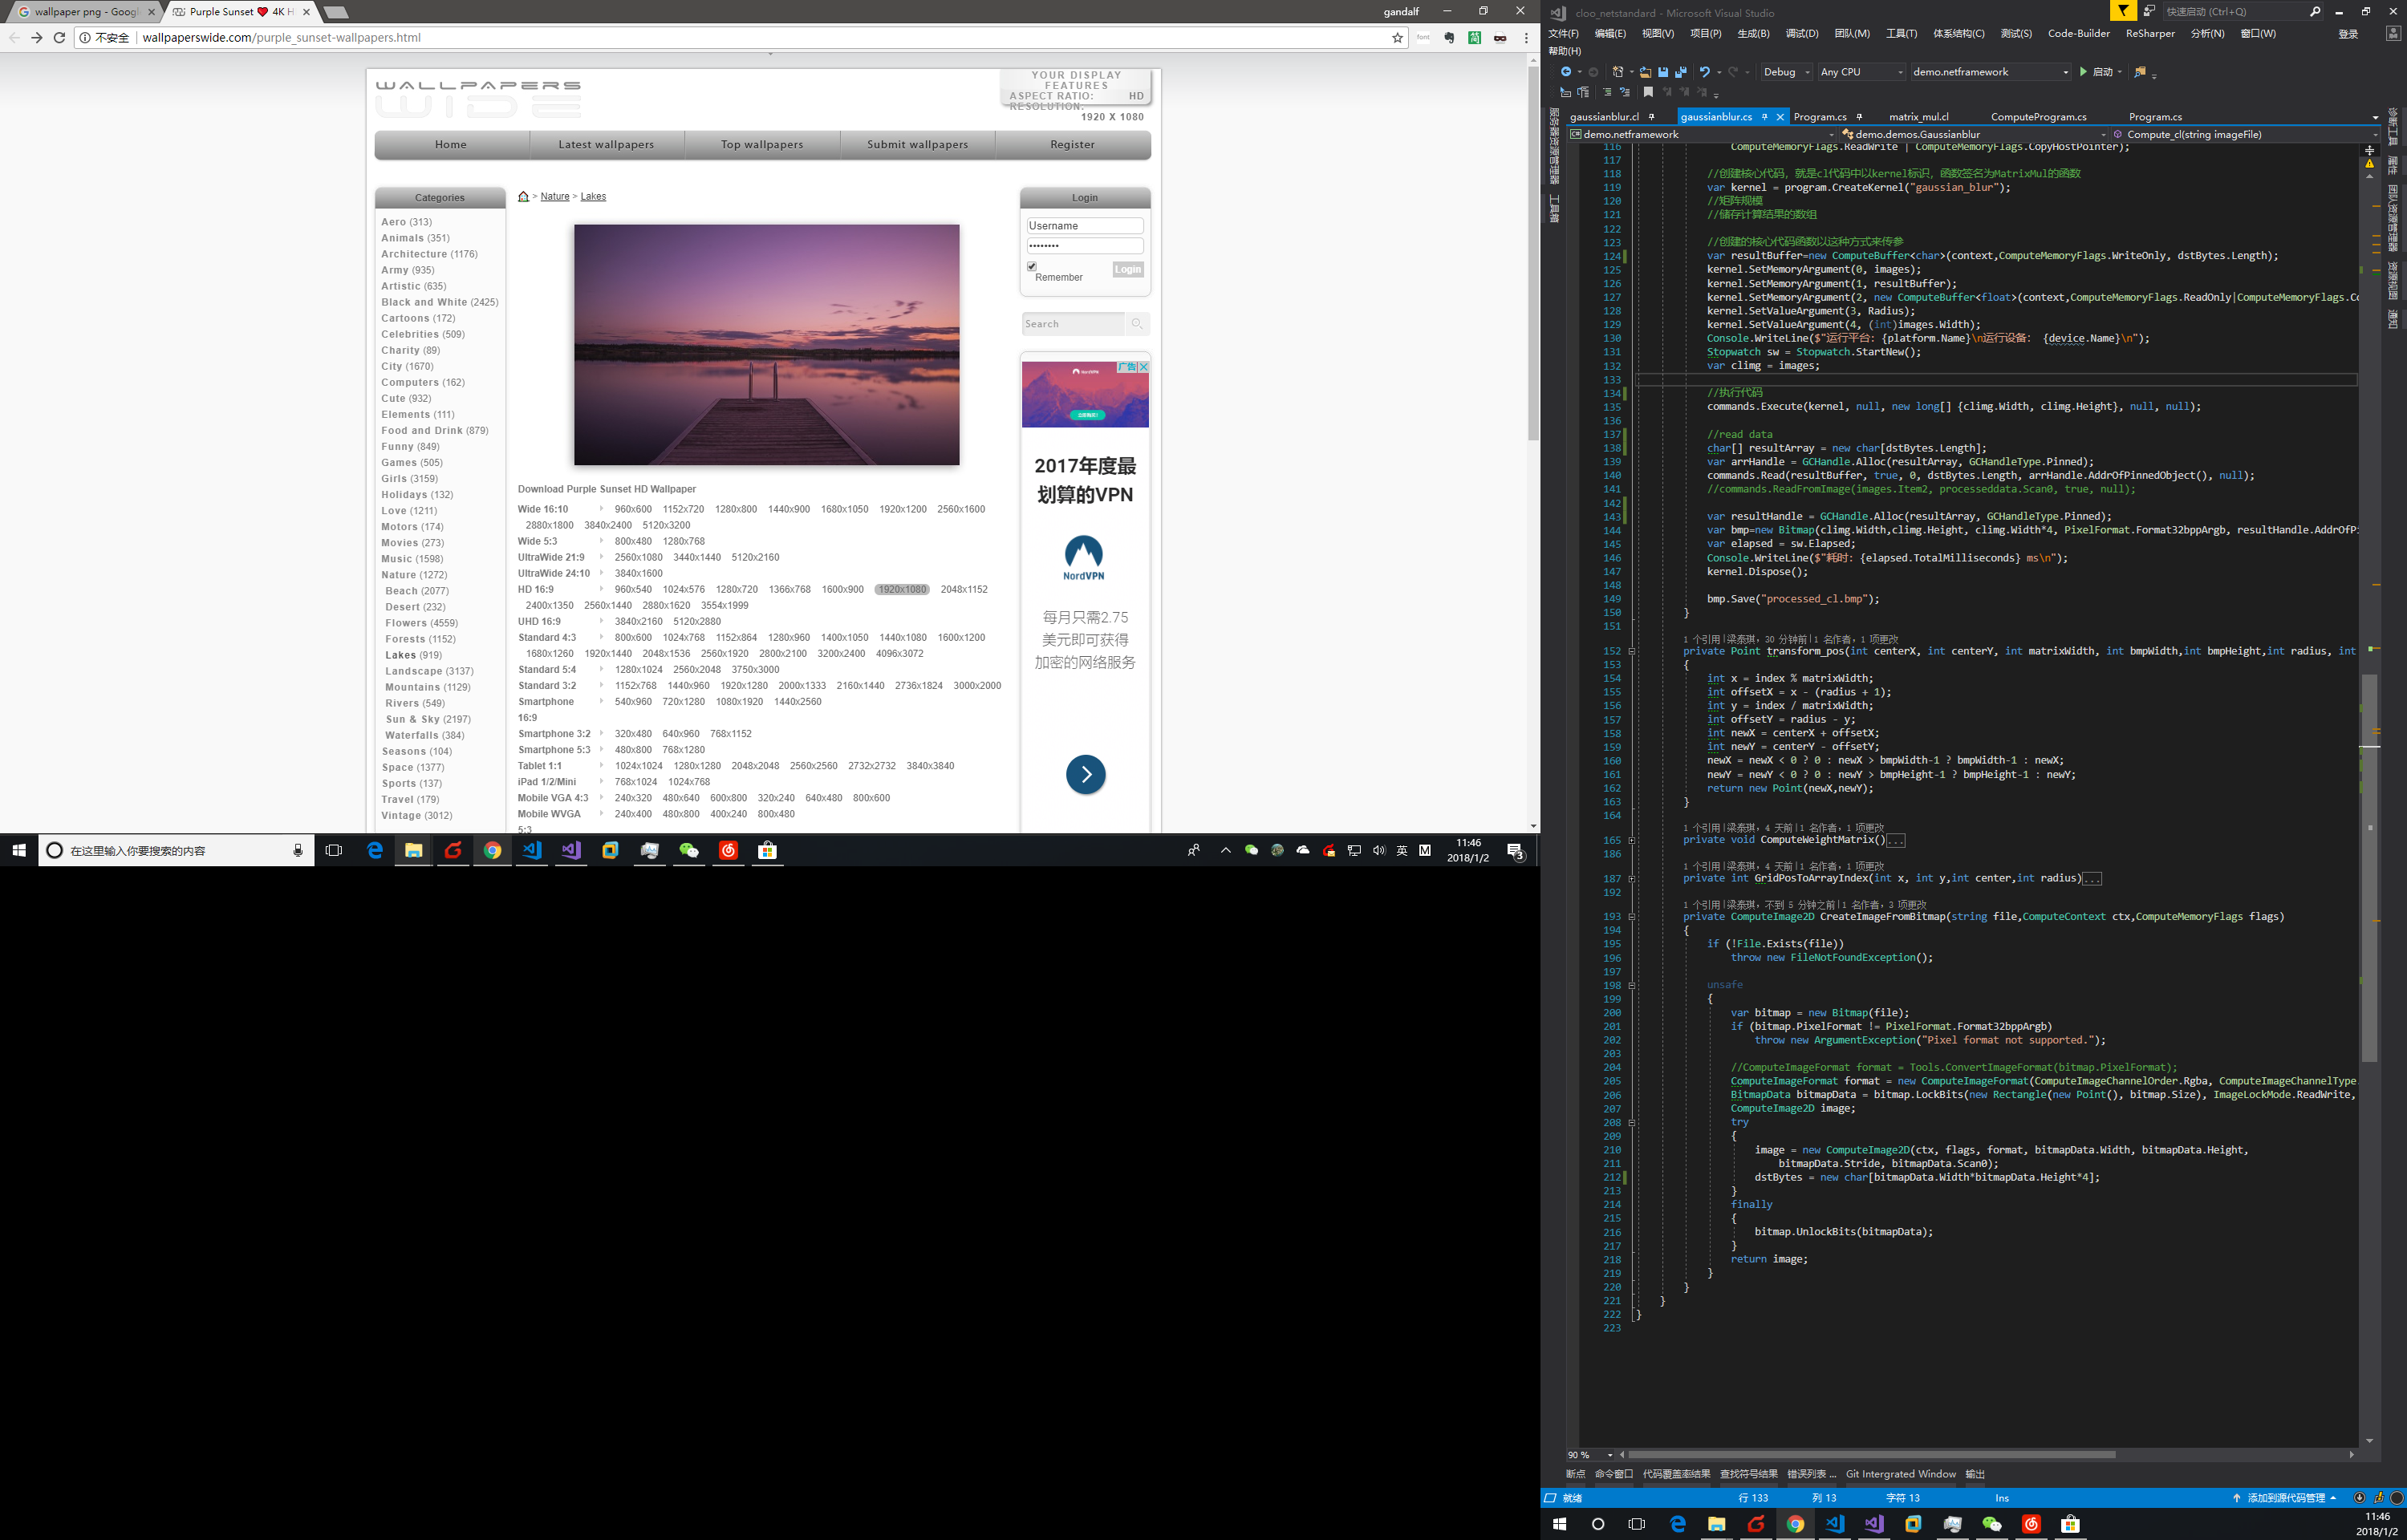
高斯模糊:
代码: https://github.com/gandalfliang/cloo_netstandard/tree/temp
Update: 在nVidia的环境下会导致处理后的图片出现花屏现象,估计是cl代码的问题,又或者是nVidia的驱动有问题?下次再更新